Planting hedging is a very easy, job which you can do yourself. Whether it's pot grown, bare root, cell grown or root balled, it's the same principles; good ground preparation, plenty of space for each root, elimination of air pockets and plenty of water not just when the plants are going into the ground, but in the weeks following planting until the plants are fully established and able to fend for themselves.
All plants purchased will be covered under our full 12 month plant guarantee. For more information see our Plant Guarantee Page.We also recommend that you plant with both Rootgrow and a secondary plant feed to ensure that your plants have the best start to their life in your garden. By purchasing Rootgrow plus an appropriate secondary plant feed (either Seaweed Bio-stimulant, Bone Meal or After Plant) at the time of plant purchase, and by following our recommended planting guidelines for your root type, you will dramtically reduce the risk of plant failures.
Planting Instructions
We provide our planting instructions as pdf files so that you can print them off from our website to get ahead with the preparation. Please print off the relevant planting instructions below, as whilst there is a great deal of similarity, there are some important differences in the planting methods for pots (including topiary)/cell grown, bare roots and root balls.
CLICK HERE to download our Bare Root planting instructions PDF document.
CLICK HERE to download our Root Ball planting instructions PDF document.
CLICK HERE to download our Cell & Pot Grown planting instructions PDF document.
Planting Videos
Below are two handy planting videos which we hope you will find useful:
Our first video demonstrates in detail how to plant bare root hedging plants. We cover the process from start to finish and show just how easy it is to do.
This fantastic planting video was kindly sent to us by Sam Pinkham, Virgin Radio Presenter! In it he plants our English Yew root balls to create an attractive 'ready-grown' hedge in place of an old, weary fence. Sam filmed this as part of his 'If I Had A Hammer' series, which follows Sam and his family as they renovate their house and garden. Thanks Sam!
Not quite ready to plant when the plants are delivered?
If you're not quite ready for planting you can store plants for a short time:
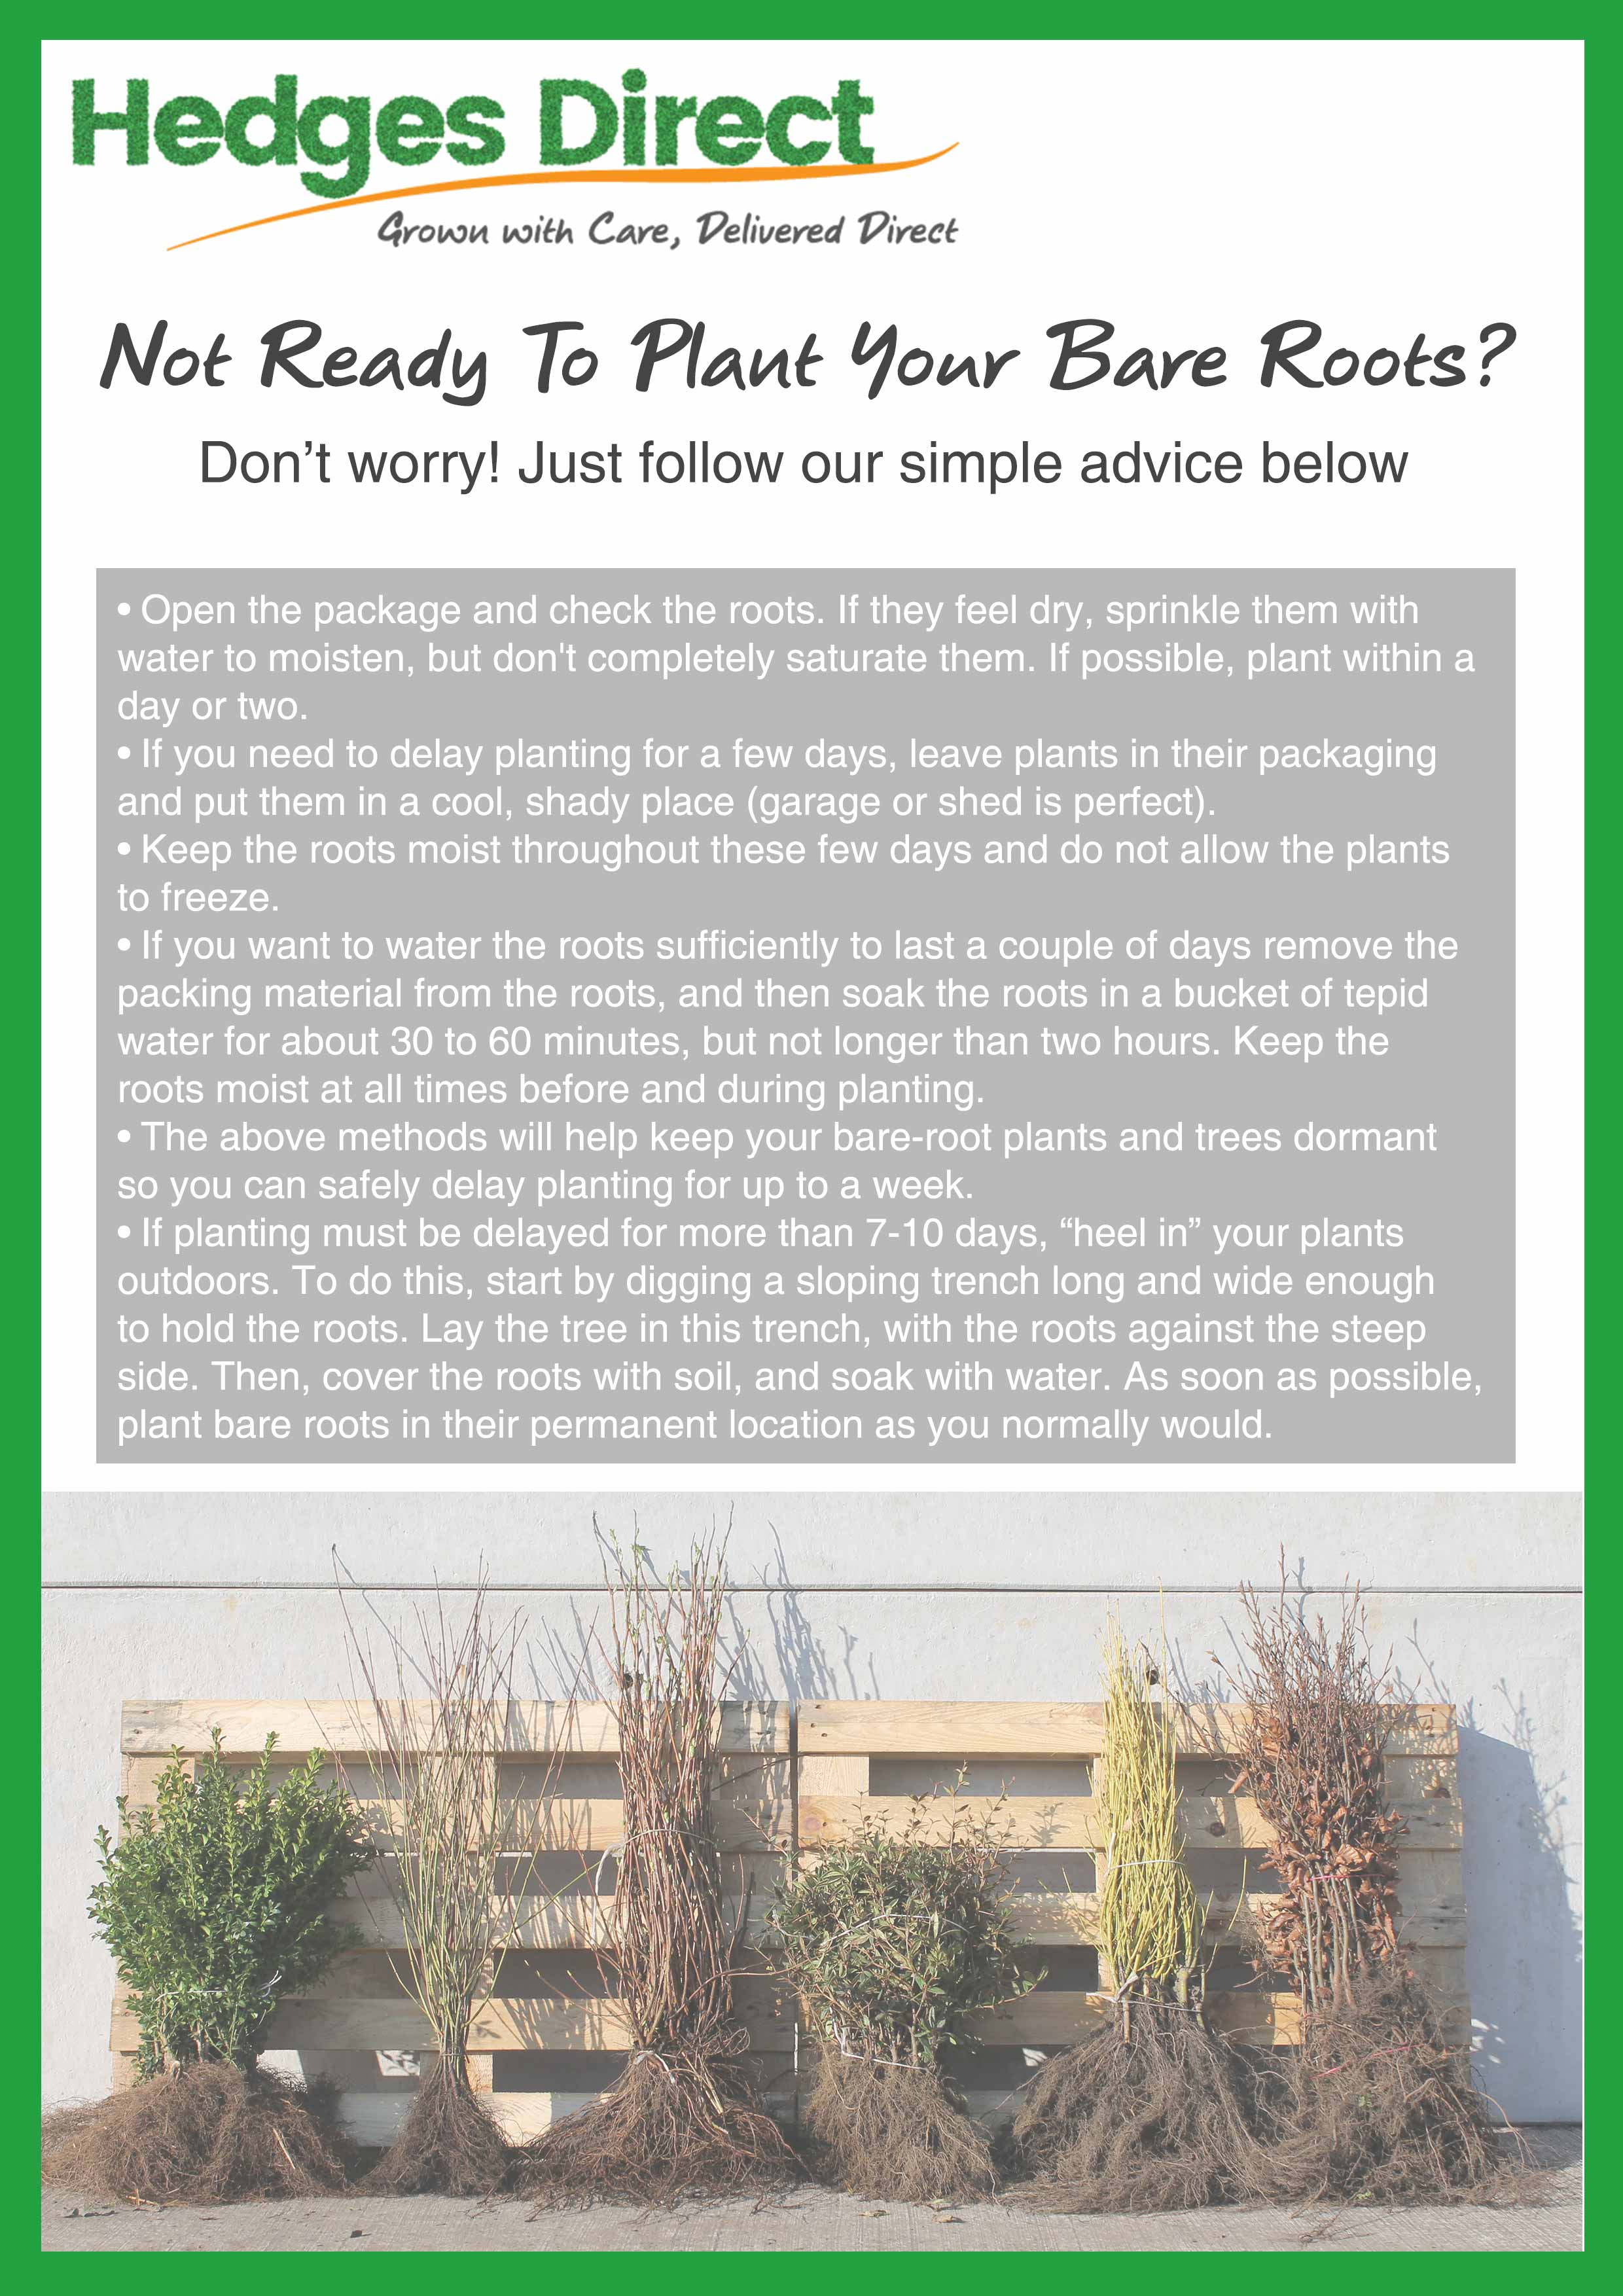
Bare roots can be kept in a sheltered area like a shed (protected from drying winds) for a few days/up to a week - just open up the package and keep the roots moist. If you need to keep them longer before planting, they'll need to be "heeled in" in which case they'll be fine (again subject to watering) until early spring (end of March/very early April but the sooner the better) - but they must be permanently planted whilst dormant.
CLICK HERE to read our detailed advice guide on how to store and care for bare roots if you are not ready to plant when they are delivered.
Root balls also need to be kept moist and we recommend planting them as quickly as possible after delivery because evergreens suffer more than deciduous plants from being moved.
Cell grown plants can be kept for a week or so prior to planting providing you water them and keep them in a sheltered place.
Pot grown can be left in their pots for a few weeks - just keep them well watered but not waterlogged.
Planting Guidance Summary
Here are our top tips to remember:
Prepare the ground in advance - clear all weeds at least 30cms on both sides of the proposed hedgeline.
Dig a trench, then prick the sides and bottom of the trench with a garden fork so that the roots can establish. For pot grown and cell grown plants, the trench needs to be about twice as wide as the pots/root structures. Rootballed and bare root plants will need a trench twice as wide as the root structure.
Enrich the soil with organic matter or mix Bonemeal through the soil you're going to use to back fill. If using RootGrow, follow instructions on the sachet.
Mark a straight line, with string, and cut a cane to size so that each plant is evenly spaced.
Water the plants and allow them to drain and also fill the planting hole with water and allow it to drain away (water is the secret to success!). If you are using bare roots, it's a good idea to stand them in a bucket of water for an hour before planting.
Gently tease the roots of pot grown plants and plant them (at the same depth as they were in the pot) into the trench, or in the case of bare root and rootballed plants, plant to the damp line on the main stem where you can see they were previously planted in the fields. Leave the rootballed plants in the netting - its biodegradable. Cell grown need an inch of soil over the top of the roots.
Firm the soil to eliminate air pockets. Its really important that there are no air pockets because this is how frost damage is caused.
Water each plant with approximately one full watering can per plant or more for plants over 1m tall. It is especially important with root ball plants that they are completely drenched after planting so that soil will be carried by the water to form a layer of fine soil particles over the roots and fill up any tiny air pockets.
Cover with mulch to stop weeds establishing and reduce water loss from the soil and keep your new hedge well watered until its root system is fully established. Keep the whole area clear of weeds and grass for at least 2 years.
The quick method for bare roots is to just dig a large spade into the soil (go as deep as possible), push the spade and soil away from you to expose a hole in the ground, pop the bare root into the hole, release the spade and firm in. This method is suitable for fertile, moist soil which has already been weed-treated.
Our own landscaping team can do up to 500 small bare root plants per day with this method but they're used to it! Amateur gardeners would do well to manage 200 per day allowing for tea breaks! It's a nice job on a dry winter day!
If you are still unsure about planting and would like some more advice and information, please do call the team on 01257 263 873 or email [email protected] and we'll be happy to help!
Show more >>>
Show less <<<
Root Types Summary
×
Bare Roots
Field grown, bare roots are young plants that are only planted when they are dormant, from autumn to spring. We lift bare root plants and despatch them during the season but they can be pre-ordered in summer. As they are cheaper to grow, they are one of our most affordable hedge planting options.
Pot Grown
Pot grown plants can be planted year round and make a convenient option. They come in a wide range of sizes, from 10cm to 2.5m so they're suitable for the majority of planting requirements.
Root Ball
Also field grown, root ball plants are scooped out of the ground using machinery to keep their root system intact and wrapped in bio-degradable, hessian sacks. They are mature plants that provide dense coverage very early on, ideal for when you need a thick hedge quickly.
Instant Hedging
Grown in troughs or bags that measure 50cm-1 metre in length and carefully clipped during the growing season. Our instant hegding troughs create a dramatic, instant hedge effect.


